
Photography
Jump to: Lightning Shots | Shots by Moonlight | DIY Shutter Timer | Canon Sub-Mirror Repair
These pictures open at full resolution. All images are copyright of "TheBassman" — use by permission only.
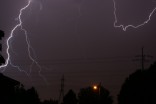
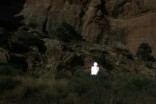
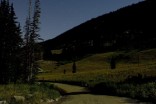
⚡ Lightning Shots
Captured at Decker Lake Park, Salt Lake City, Utah

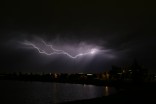
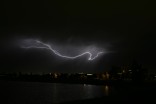
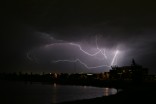
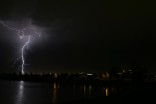
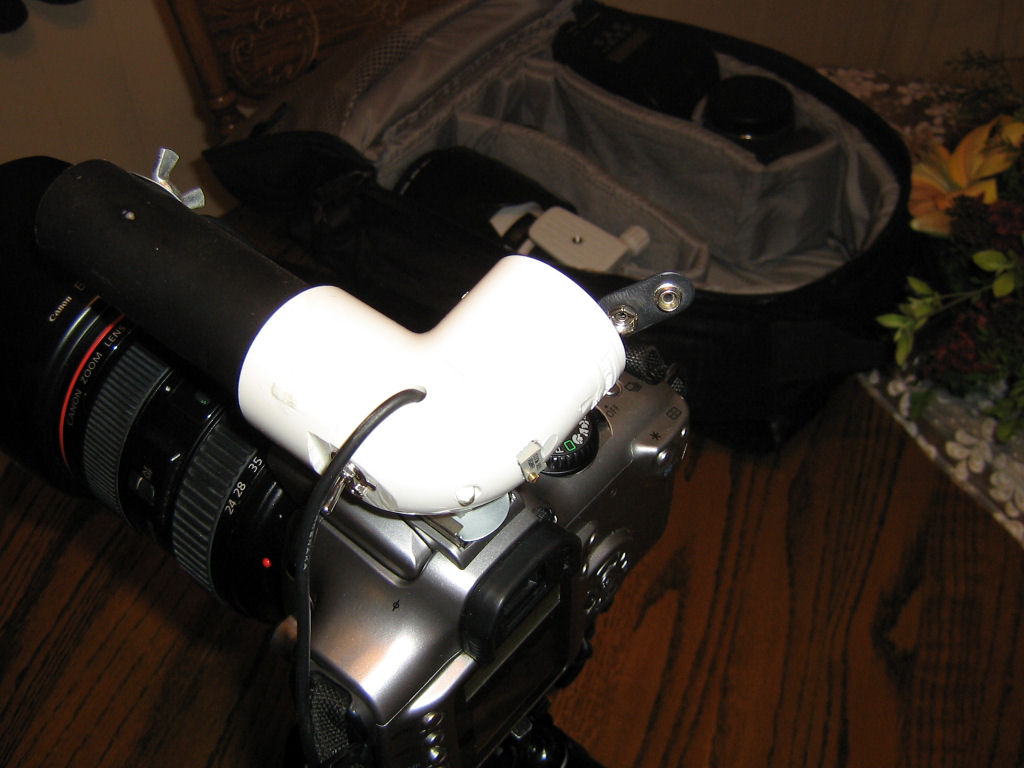
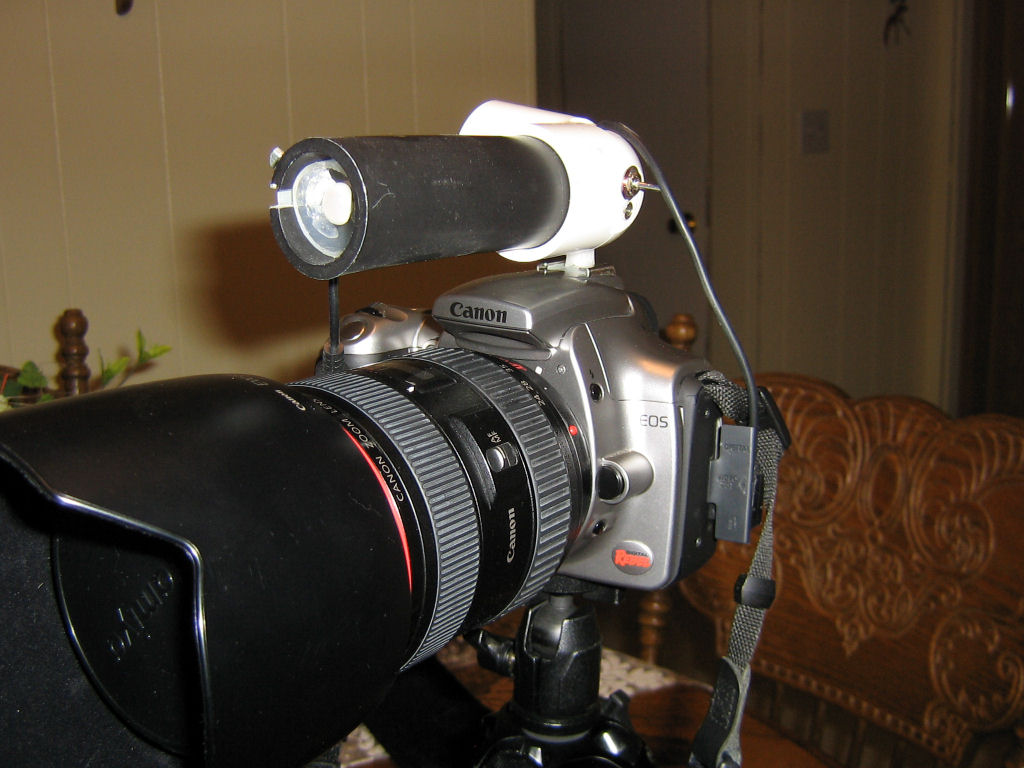
DIY Lightning Detector used to capture the shots above:


🔧 DIY Camera Shutter Timer / Time-Lapse Controller
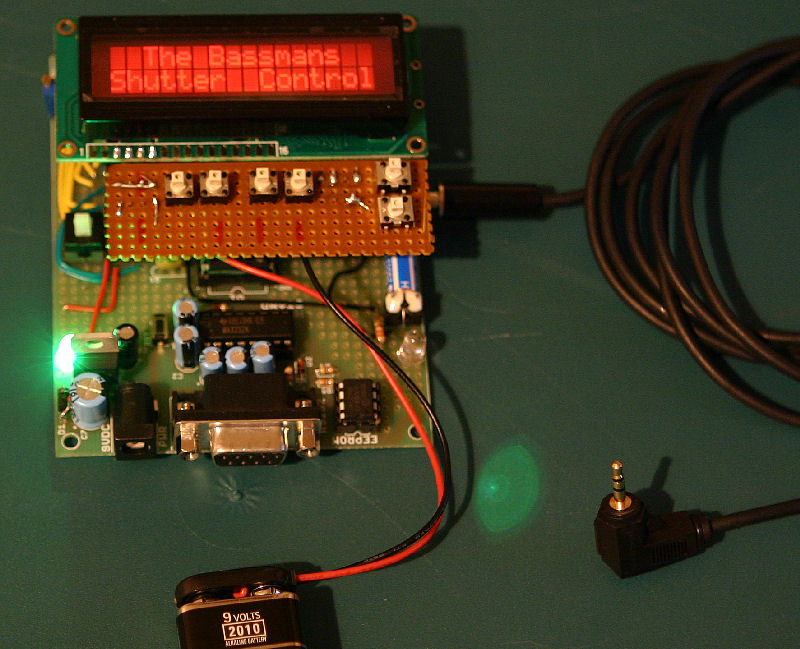
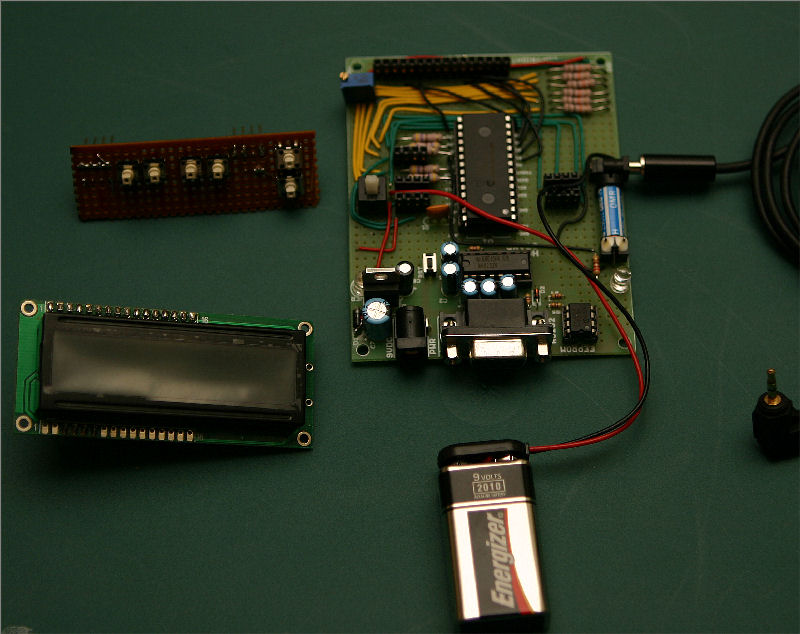
Not wanting to spend $400 on a commercial camera shutter controller, I decided to build my own using a Parallax BASIC STAMP micro controller kit.
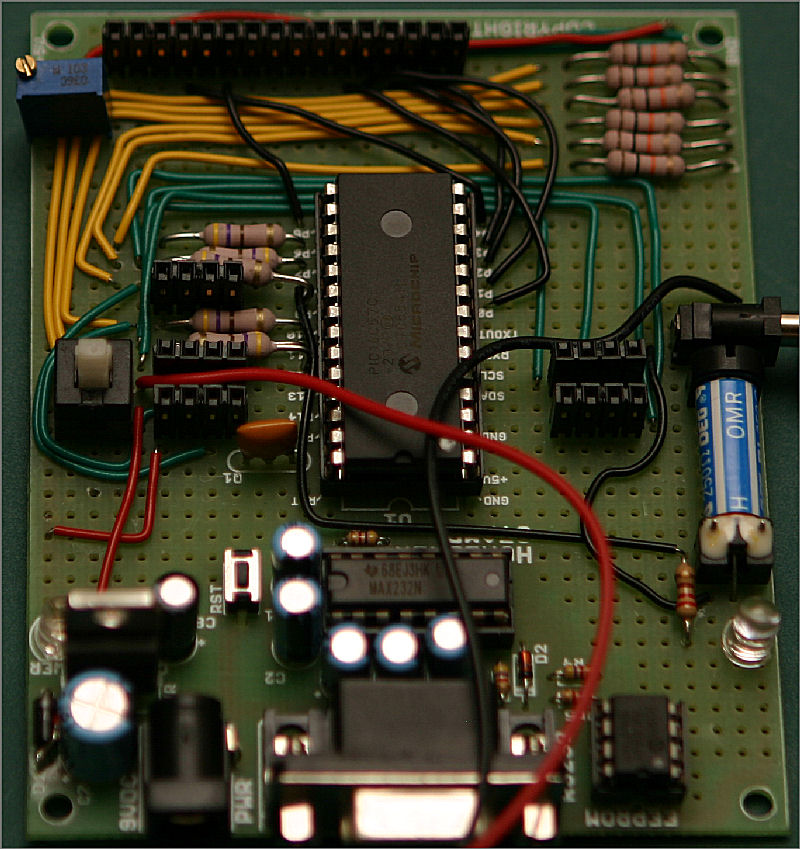
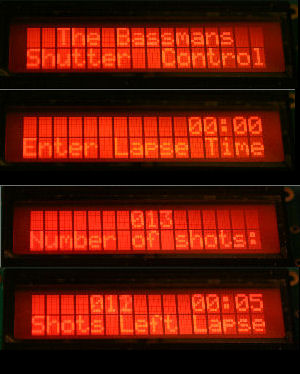
I had already created a lightning-activated shutter release for the shots above, but this project was more complex. Using the BASIC Stamp Activity Kit, I started by planning outputs and prototyping the circuit. The shutter circuit is basic — a 5VDC relay connected to one of the STAMP outputs. The LCD is a 16×2 line red inverse character display with red LED backlighting using a Hitachi HD44780 controller.
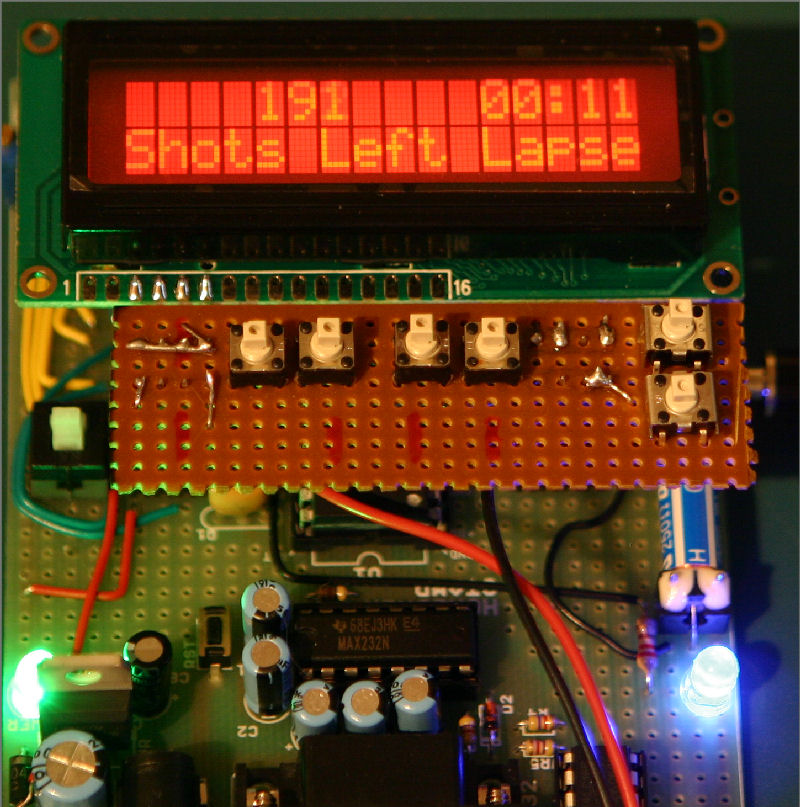
I wanted exposures beyond the Canon Rebel's 30-second limit, so I wrote a BASIC program allowing any exposure length. I then expanded it to include a Time Lapse function — enter the number of shots and time between shots.
Parts cost less than $50 total: a Homebrew STAMP PCB from phanderson.com ($24.95), plus LEDs, buttons, a camera cable plug, and a $4 Radio Shack reed relay. Wiring reference: LCD control guide (LCDDemo.rar).
Email me if you want the BASIC program — it's free.
📷 Canon Rebel Sub-Mirror Repair
After over 100,000 shots on my first-generation Canon, my sub-mirror stopped moving up when shooting. This is a known issue on Canon "300D" and newer Rebels. I found a great step-by-step guide that walks you through the repair.
⚠ Be VERY careful when removing the ribbon flex cable from the socket. These break just by looking at them wrong — even knowing how they work and how fragile they are, I had problems with mine.
Jump to: Lightning Shots | Shots by Moonlight | DIY Shutter Timer | Canon Sub-Mirror Repair | Home